
What to Know About MAP Sensors and Engine Performance
How MAP Sensors Work: Core Function and Engine Integration Measuring Intake Manifold Pressure for Optimal Combustion
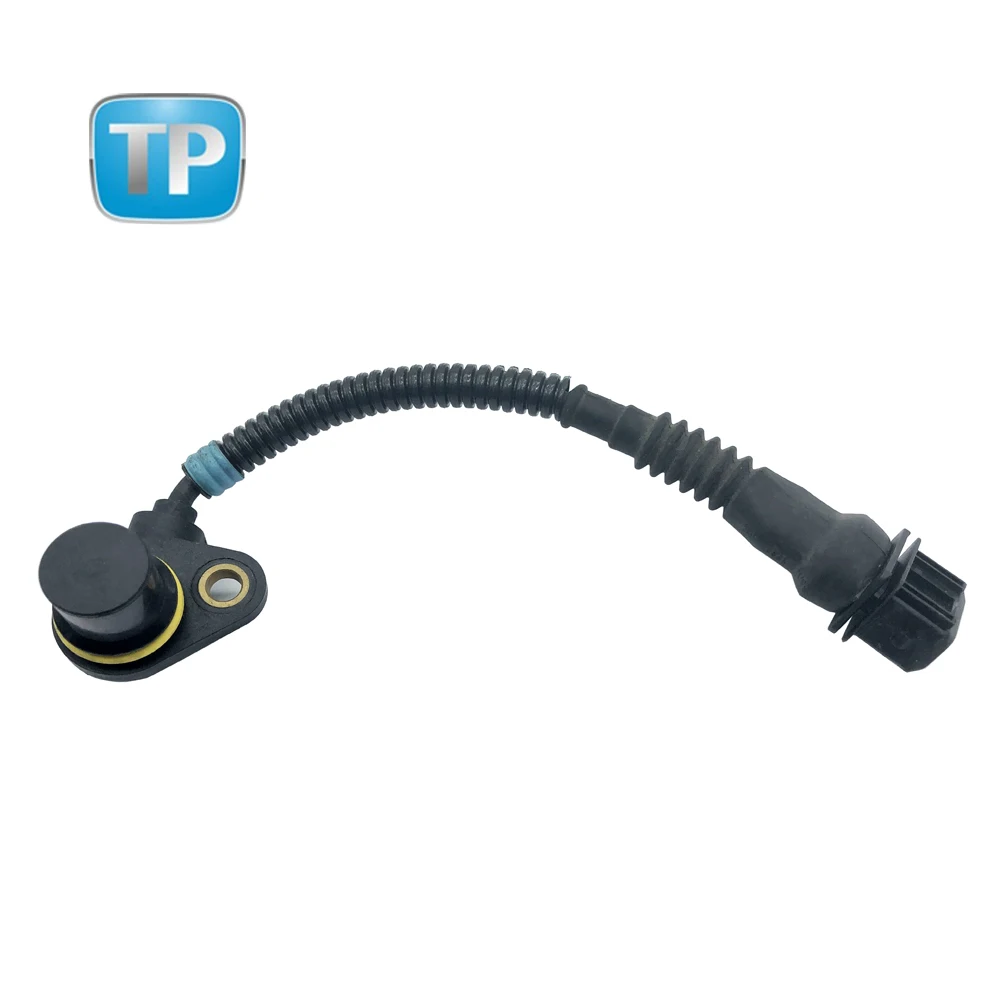
MAP sensors play a key role in measuring pressure within the intake manifold, which impacts the air-fuel mix needed for good combust...
View More